Shiny Object Photography
Before getting into Steven L. Van Dyke terrific tutorial, I forgot to mention in the previous post the importance filling the frame of the photo with your miniature item. Look at any example of small-object photography. There’s very little space
around the item being pitched. The seller wants you to be up-close-and-personal. So switch your zoom function to Macro – even inexpensive point and shoot cameras have this feature – and be careful that the picture is in focus hold down the shutter release.
Another Forgotten Point
One other important point I didn’t mention previously. If you’re not into photography at all, you’re still not stuck with the WYSIWYG (What You See Is What You Get) approach to product presentation. We work on a Mac, and there is a built-in function in Preview / Tools where we can adjust the color and pixel size of a photo. Learn how to use whatever function your computer or software has to manipulate images.
# Step Process
Besides cropping, it’s usually a 3 step process: increase exposure, adjust contrast and saturate color. All three are controlled by sliders, so you can move them back and forth until you get what looks right to you before clicking Save. I like most pictures a little brighter than the original image. So I start by increasing Exposure, then adjust the other sliders. Don’t be afraid to experiment. Your adjustments are not permanent if your software has an “undo’ feature. Just don’t click on “delete” prematurely.
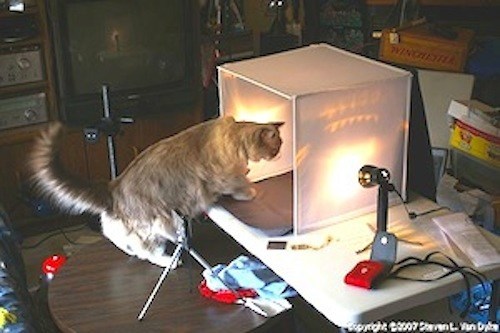
Okay, on to Steven L. Van Dyke terrific tutorial: Steven L. Van Dyke tutorial on small-objerct phoyography.
And here’s a link to my article on Photographing Miniatures.
Susan Downing


